— NEW — TL;DR ... 2026 Updates!
Download site for ready-to-use CHR images!
So readers do not have splunk the 80+ post here, the TL;DR is much of thread is now captured in new webpage around the mikropkl/utm-chr/fat-chr projects discussed in thread....
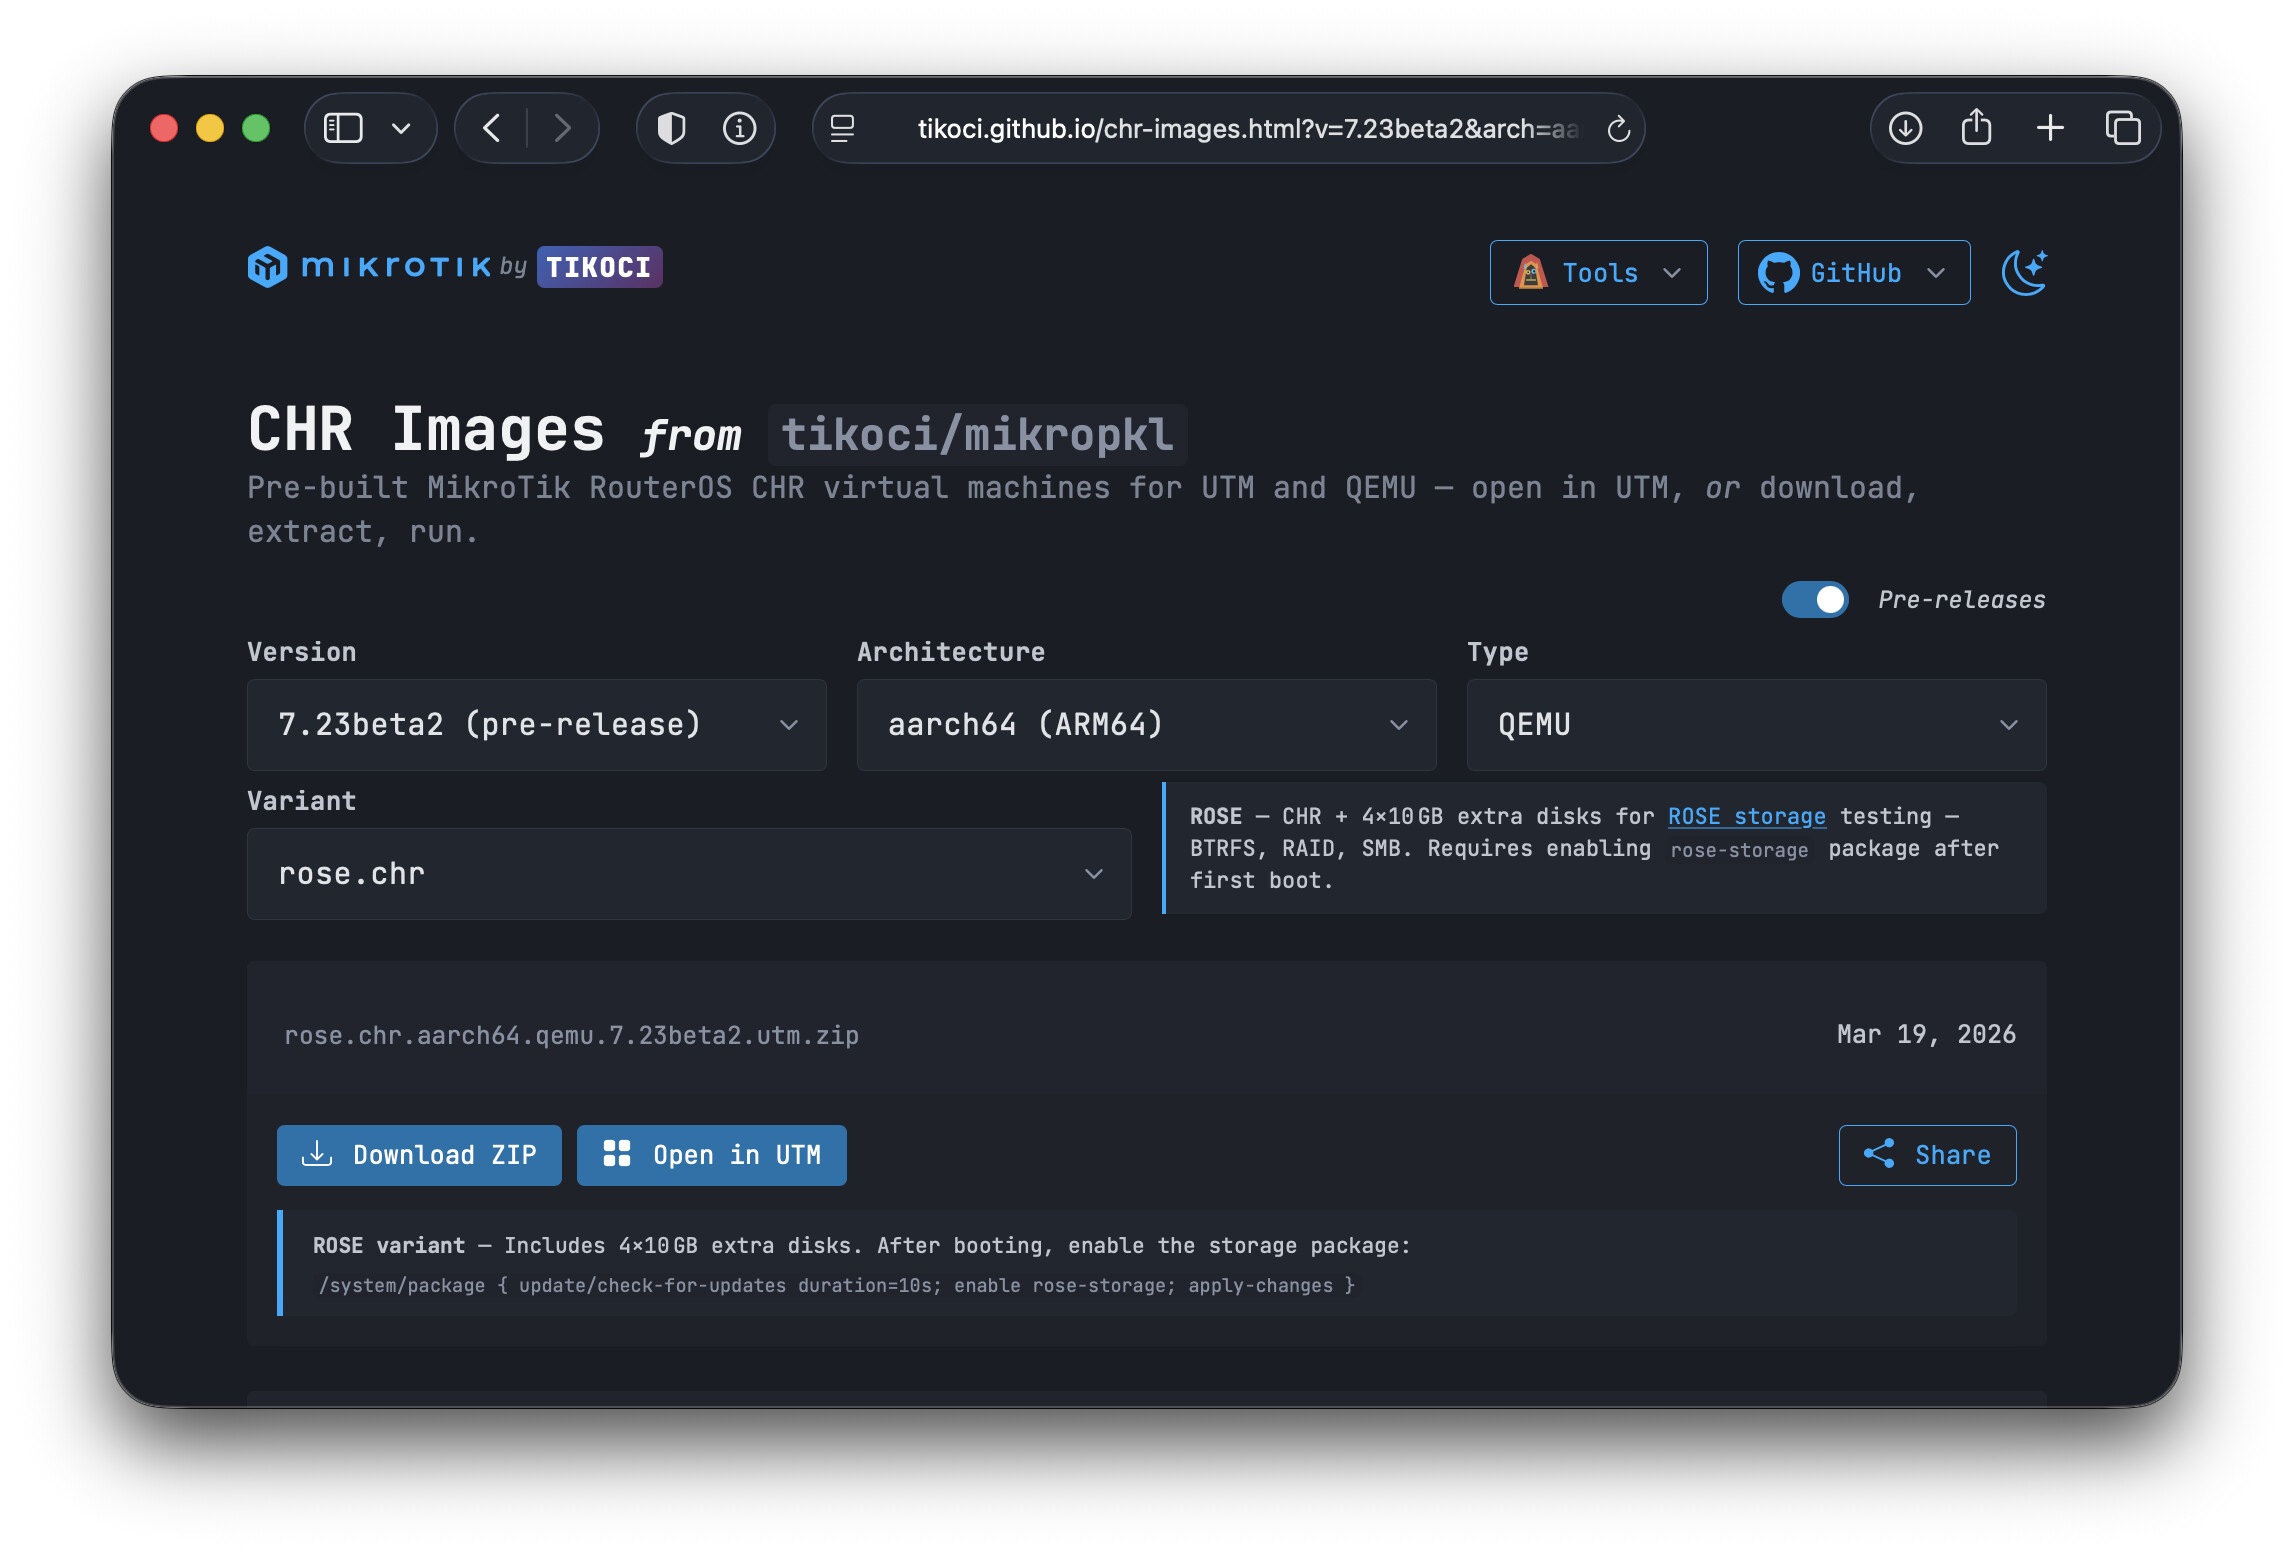
Please check it out! I've tested both the interface, UTM linked, and most downloads. So pretty sure things generally works, but comment below if you have a problem. Tested both 7.22 and 7.23beta using new site with UTM, and the new qemu.sh on macOS/intel, Arch and Ubuntu. And added some automated tests that validate images using GitHub Action to start them using qemu-system-*, and make sure support basic RouterOS commands. The new GH automated tests were run against same 7.22 and 7.23beta2, and future release will be too.
All images are built by Microsoft's GitHub Actions, from source on public GitHub mikropkl. QEMU images are exact copies of MikroTik CHR images, while "Apple" images are enabled for EFI with repartitioned boot formatting (ext2 to fat) and also support qemu.sh too, just with EFI boot, not QEMU's SeaBIOS.
Tried to build a good "help system" on the tikoci.github.io/chr-images — so start there!
QEMU scripts for Linux and Mac without needing UTM for version 7.22+
Included in 7.22 and 7.23beta2 is new qemu.sh that will automatically launch a basic CHR in the terminal (or via --background beyond). QEMU has env vars (network) and the qemu.cfg (cpu, memory) that can tweak it. Running the script with no args, will bring CHR in user mode at a RouterOS terminal prompt. In this mode, there is no networking other than port 80 is forward and there is BSD socket for the console, that you can use socat (or screen) to connect. The qemu.sh script is quite smart, so it will figure out if accel=kvm|hvf|tsg based on OS and CHR image your using. The new website has the basics on use, and with links to "user manual" in QEMU.md with more complete details.
Notes on Networking with QEMU...
- On Mac, the
qemu.shhas a--sharedandbridged en0option that uses Apple'svmnet.frameworkto create a NAT-ed network, or bridge a real interface, which is same as UTM uses for both QEMU and Apple Virtualization.framework – you do needsudo qemu.shto use--sharedor--bridged <interface>on Mac. - Running on Linux... network is less-automatic with
qemu.sh... it must be manually add to qemu.cfg or viaQEMU_EXTRA=(or modifyqemu.shdirectly), see QEMU.md for more details.
More details, see the GitHub Project spawned from this thread...
For a while, I've published on GitHub some of the work here:
- GitHub
tikoci/fat-chr- The first project from this thread. This runs a GitHub Action for every new RouterOS release. The CI action repartitioning a RouterOS x86 CHR.rawimage, so it will boot under a EFI boot loaded. MikroTik official images CHR use aext2"hybrid MBR" structure designed to use [1980s] BIOS (not EFI). Some EFI system will boot it, as RouterOS kernel is actually packages in EFI binary inside theext2. But some virtualization, Apple which cause this thread, is one. But there are others since EFI specifications requires a FAT partition for a EFI boot loader. So the GitHub Action runs some shell andqemu-*commands to create a new img file with same files, but the boot partition converted fromext2tofat- No file are harmed in the process, RouterOS itself remains unchanged. - GitHub
tikoci/mikropkl- Grow out of fat-chr, with a brief stop Idea take the CHR images fromfat-chrfor Apple, along with "real" ones for QEMU+BIOS and package them as "clickable links" to install CHR into UTM from a webpage. Until recently,mikropklonly used GitHub release to show non-clicklable UTM URL likeutm://downloadVM?url=.... Turns out GH doesn't allow non HTTP or HTTPS links any pages - why it's been cut-and-paste before new "CHR Images" website. So new "website" for download is really the completion of the original ~2 year. It gone under significant remodeling and expansion this year — now support using same .ZIP files for UTM for use witheqemu-system-*withqemu.sh(has smarts to launch qemu automatically in best mode for OS) and it companionqemu.cfg(controls CPU and memory settings), each 7.22 and newer build includes them in the chr..<apple|qemu>..zip downloadable. - tikoci.github.io/chr-images - above screenshot is the site, it just wraps the
tikoci/mikropklGitHub Releases used prior to 7.22 for macOS UTM use. With the shell script to launch QEMU on Linux and Mac without needing UTM available too, the chr-images page can filter help based on UTM or QEMU, and OS (Mac/windows/Linux). The help content could be improved but should be right or very close. Comment in this thread if corrections or improvements are needed!
Above was edited 2026-03-21 at post #84. Most of the post below were the "lab notebook" for the above projects. If you're goal is just using CHR in UTM, or trying new QEMU support — start by going to tikoci.github.io/chr-images, there are instructions on use and relevant links.
OLD "TOP" POST FROM TWO YEARS AGO...
See post #65 below for UTM CHR installation instructions for the
Most streamline way to install RouterOS CHR on Intel-based any macOS UTM
https://forum.mikrotik.com/viewtopic.php?t=204805#p1131200
https://forum.mikrotik.com/viewtopic.php?t=204805#p1125233
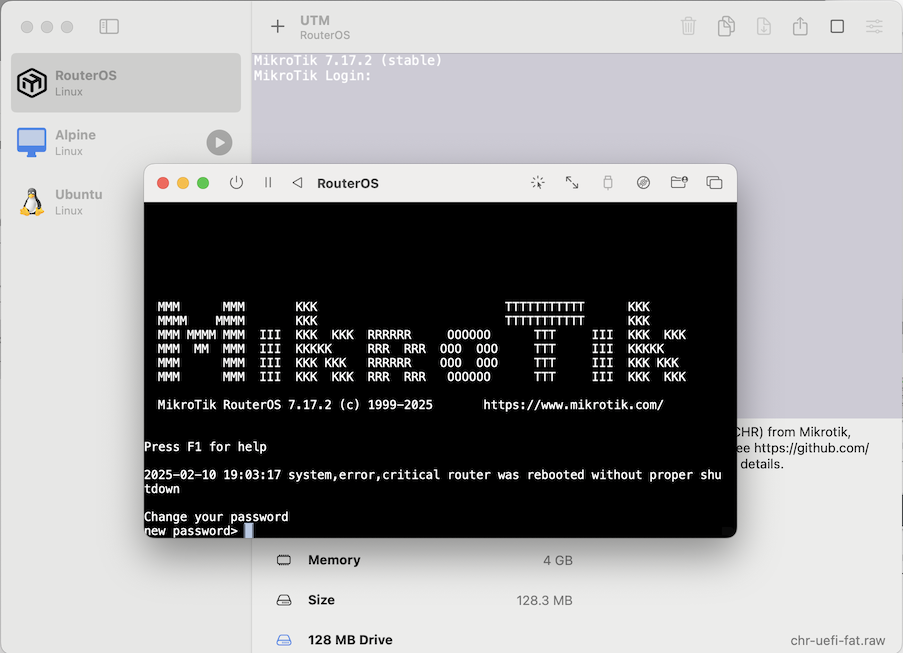
I didn't intend on this thread to have 60+ posts... Which now includes multiple GitHub projects...
CHR re-partitioning: GitHub - tikoci/fat-chr: Builder for CHR images with UEFI support (testing) · GitHub
UTM packaging to ZIP/URL - "mikropkl" GitHub - tikoci/mikropkl: `pkl` packaged UTM virtual machines, including RouterOS CHR · GitHub
Old Apple Virtualization Only UTM packaging to ZIP/URL GitHub - tikoci/chr-utm: RouterOS Cloud Hosted Router (CHR), packaged for UTM, for Intel macOS · GitHub
At this point the rest of the content in this post below is now historic:
I'd been experiment using Apple Virtualization Framework (https://developer.apple.com/documentation/virtualization) using the option in MacOS-version of UTM (https://mac.getutm.app).
I normally using VMWare Fusion/ESXi. But UTM (in Apple, NOT QEMU, mode) seems to work okay in my limited testing for a few Linux images. For a lark, I wanted to try CHR using UTM+AppleVMF. Issue is Apple's Virtualization Framework ONLY support UEFI, which CHR – for some unknown reason includes EFI boot files, but the diskpart stuff isn't right.
As it turns out, I somehow got it work. I use CHR on Mac for testing configscripts, so "working" is about all I need. I tried to write up what I did, but post if you try and doesn't work. I do know that CHR does not show the logon prompt on the emulated video display (although the serial port is mirrored as the screen shown below) but serial port and network work fine. /tool/speed-test in a UTM+Apple VM matched a similar bridged network using VMWare Fusion. Since UTM+Apple (e.g. no QEMU) uses less CPU and boot WAY quicker than VMWare Fusion, so far pretty good.
Even more historic information, potentially could be removed:
See #15 post below for more streamlined process to using CHR with Apple virtualization, on Intel-based Macs:
CHR using Apple Virtualization & 🐧 QEMU for Linux - Ready-to-use! - Virtualization - MikroTik community forum
The following is the "manual" way now....
This post had the clue on UEFI issues with CHR: Router OS 7 on UEFI - #5 by mark99i
While I did NOT use the script...the post was 100% correct:
For some reason, Mikrotik does actually includes the right bits for UEFI support...but UEFI requires a FAT16 partition — NOT the ext2 that's the boot partition in the CHR .IMG file — so CHR does not work unless some Legacy BIOS is used (which Apple, and other VM platforms, do not offer).
The Mikrotik's help for CHR on Vultr has the big clue to how to avoid needing a script (which will not work on Mac) — boot to the SystemRescure image. See CHR Vultr installation - RouterOS - MikroTik Documentation
So the Vultr instruction ALMOST works for UTM + Apple Virtualization: e.g. booting UTM with Apple Virtualization enabled to the "SystemRescueCD"... But those need to be COMBINE with the @kriszos to convert the IMG file's partition from ext2 to fat16. Most of the write up below is the process involved in that...
Inside UTM, select:
- hit "+" to add a new VM
- select "Linux" as the type
- check the "Use Apple Virtualization" box
- pick the SystemRescueCD as the "Boot ISO" (after downloading the ISO: https://www.system-rescue.org)
- pick cores/memory as desired
- pick a disk size - RouterOS does not need a big disk... I used 1GB but can be smaller/bigger as desired
- skip shared directory (hit continue)
- now, pick a name for the VM, I used "AppleCHR" and IMPORTANTLY check "Open VM Settings"
- dialog with VM setting will appear:
- under Network, you may to change to use "Bridge" mode (or add more network interface... or less likely, use shared if you really like multiple NATs)
- under Devices section, use "+ New..." to add a "Serial" port (below item network) – default is bring up serial port a new window which is what you want
- reviews other setting, but serial above is about only CRITICAL thing to add
- hit "Save"
- in UTM main window hit Play icon to start the new VM
I'm guessing Vultr is more forgiving than Apple about UEFI. The solution to this is same as @kriszos post above allude: convert the ext2 partition to fat16. And this can be done after the "dd" in SystemRescueCD. The specific steps I used: - follow other steps from CHR Vultr installation - RouterOS - MikroTik Documentation
- at same SystemRescueCD's terminal...
- "mountall" after CHR has been extracted/copyed to the /dev/vda disk
- "mkdir /tmp/vda1" to create folder to store RouterOS EFI files in ext2 boot partition
- "cp -r /dev/vda1/* /tmp/vda1" to copy the EFI files
- "umount /dev/vda1" and "umount /dev/vda2" to un-mount the boot and main partitions
- "startx" - to launch X11 (probably some CLI to "parted" work too, but GUI is helpful with disks IMO)
- Hit the icon for "gparted" in the task bar (or run "gparted" from a Terminal in X11 desktop)
- Use the drop-down in upper left to select the /dev/vda disk. You should see two partitions: one ext2 and one ext4.
- Right click on the first one, marked "boot" on right, and select format.
- Pick "fat16" as the format type. This will "cue" the operation.
- Next commit the, use menus or hit the green checkbox in toolbar. Assuming it says success in status window & still marked "boot"...closed gparted.
- Bring up a terminal window from menu/taskbar, and again type "mountall"
- At same terminal, use "cp -r /tmp/vda1 /dev/vda1" to copy the original files back to the re-formatted 1st partition.
- Finally "poweroff"
- CHR should be "installed" and bootable at this point, except you need to remove the SystemRescueCD from UTM – since it will boot to RouterOS at this point.
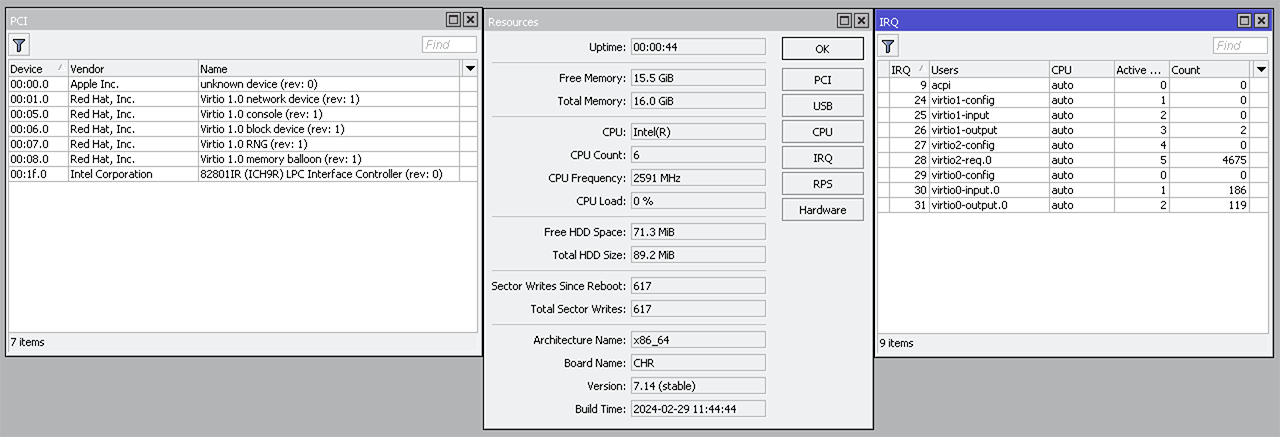
Note: I only tested on Intel Mac – but I believe UTM with Apple Virtualization framework will work on M1/M2/M3 (ARM) Mac via Rosetta. If someone tries, that LMK if it works.

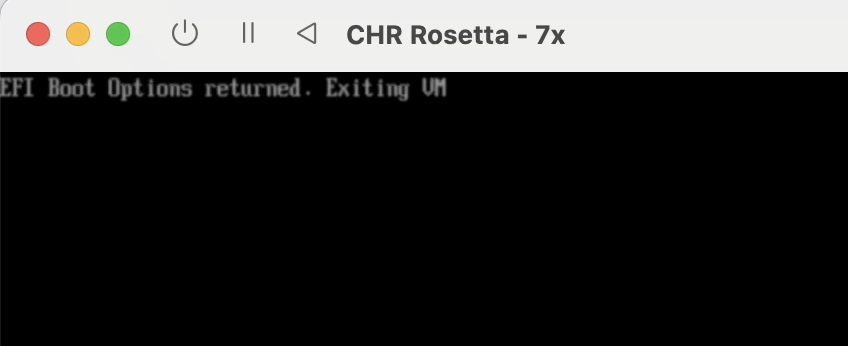
 .
.
 . Apple docs say: