Given the Super Bowl in US… Amm0’s container&script superstore is now offering …
Easiest way to install a RouterOS* — via URL:
utm://downloadVM?url=https://github.com/tikoci/chr-utm/releases/download/v7.17.2/RouterOS.utm.zip
*assuming you have an Intel Mac with UTM installed — To install UTM for Mac, see https://mac.getutm.com .
On Intel macOS, just cut-and-paste URL below into Safari — including the “utm://downloadVM?” which tell UTM to start the process:
utm://downloadVM?url=https://github.com/tikoci/chr-utm/releases/download/v7.17.2/RouterOS.utm.zip
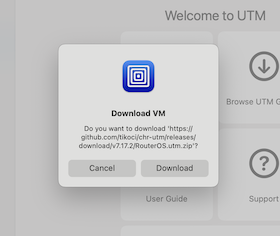
After using URL, UTM will prompt you download it, and will automatically add CHR to the virtual machine assuming you accept the download.
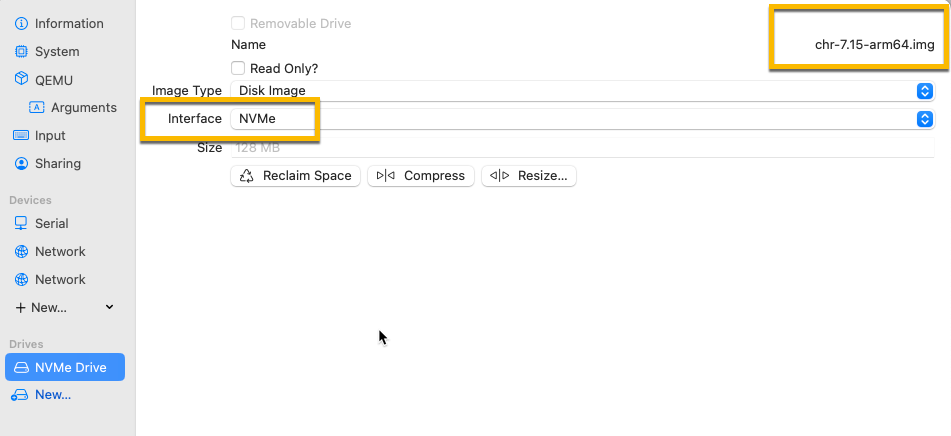
You can also download the image directly from the “Release” section on the GitHub project that, essentially, ZIP you a directory with a .plist file and .raw image (and icon). If you expand the ZIP, UTM should see it as virtual machine then (as it will have the “.utm” ending when unzip). So same image packaged for UTM (as a ZIP) is under “Releases” from the GitHub tikoci/chr-utm repo:
https://github.com/tikoci/chr-utm/releases
In either case, you should be able to just start it once it installed in UTM — no configuration of serial ports or disks needed.
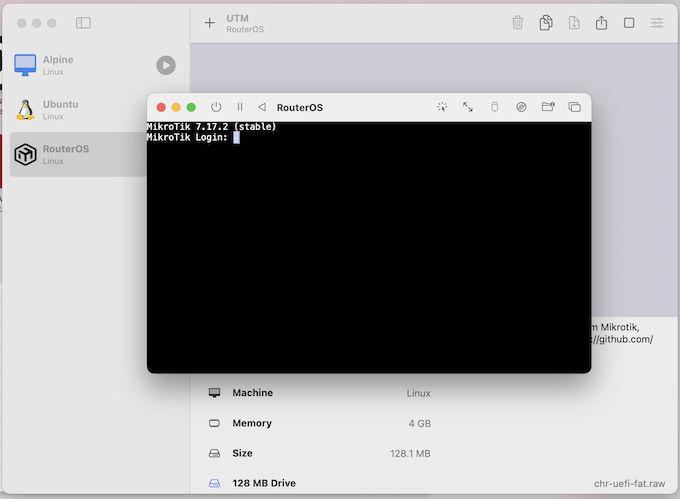
To start, click the “>” Start icon next to “RouterOS”, and a console will appear
The username is of course “admin”, and CHR still uses no password.
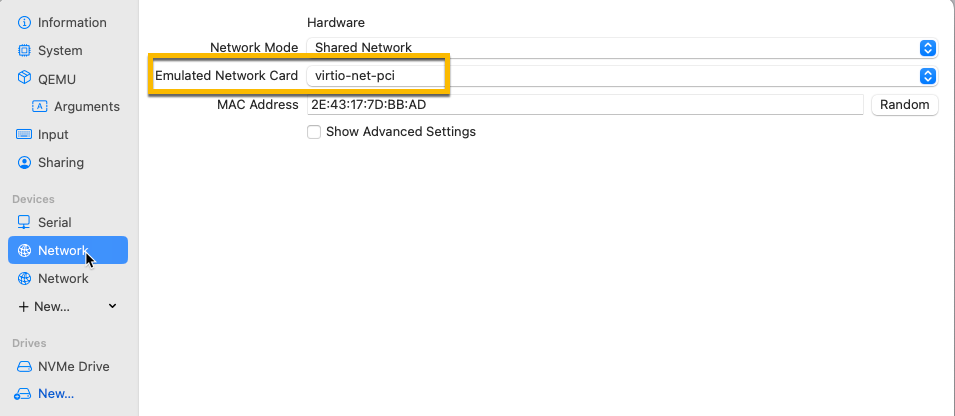
Note: RouterOS will use a UTM “shared” (NATed) network by default. With macOS defaults (i.e. macOS firewall enabled), no port should be available beyond you local Mac. You can feel free to adjust any networking as desired — including none if just want to test scripts or commands. But you can add multiple network adapters, or “bridge” CHR to a real interface if desired (i.e. to avoid NAT once it’s configured with passwords and a RouterOS firewall). For example, you can add a USB ethernet dongle to Mac, add that interface as “bridge” in RouterOS UTM image “Network” settings. Anyway, there are network setting to adjust in UTM to present more network (say for testing) or use multiple “shared” ones.
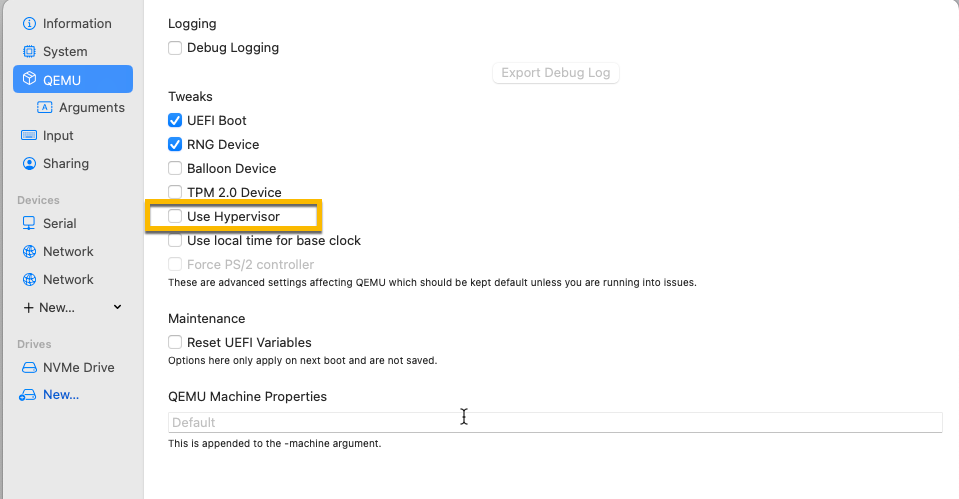
Above uses Apple’s “App URLs”, which get send to UTM app and is same scheme as “UTM Gallery” uses to install images. The image inside ZIP iimage based on the tikoci/fat-chr “no-gdisk” method, and the image is set to use Apple Virtualization which is super fast at bring up CHR.
Finally to use multiple CHR, you’ll need to rename any existing ones first named “RouterOS”. So if you want to add TWO CHRs, you change “RouterOS” to “RouterOS 1” and then use same URL/download to add another CHR (and perhaps rename that one to “RouterOS 2”). Basically, it won’t automatically install a CHR if same already exists.