Open GNS3. To make it easier to move GNS3 projects between various computers, it is suggested to change GNS3 Paths (My projects, My binary images) to a universal folder, e.g. C:\GNS3. By default, it is C:\Users\YOUR_USERNAME\GNS3... It can be changed in Edit → Preferences
Create RouterOS template: Edit → Preferences → Qemu VM’s → New → Type: Default → Choose a name → Choose amount of RAM to allocate for one RouterOS instance: 64MB is suggested → Chose disk image that was downloaded in step 4. Change network adapters to desired amount, e.g. 4
Create RouterOS template: Edit → Preferences → Qemu VM’s → New → Type: Default → Choose a name → Choose amount of RAM to allocate for one RouterOS instance: 64MB is suggested → Chose disk image that was downloaded in step 4. Change network adapters to desired amount, e.g. 4
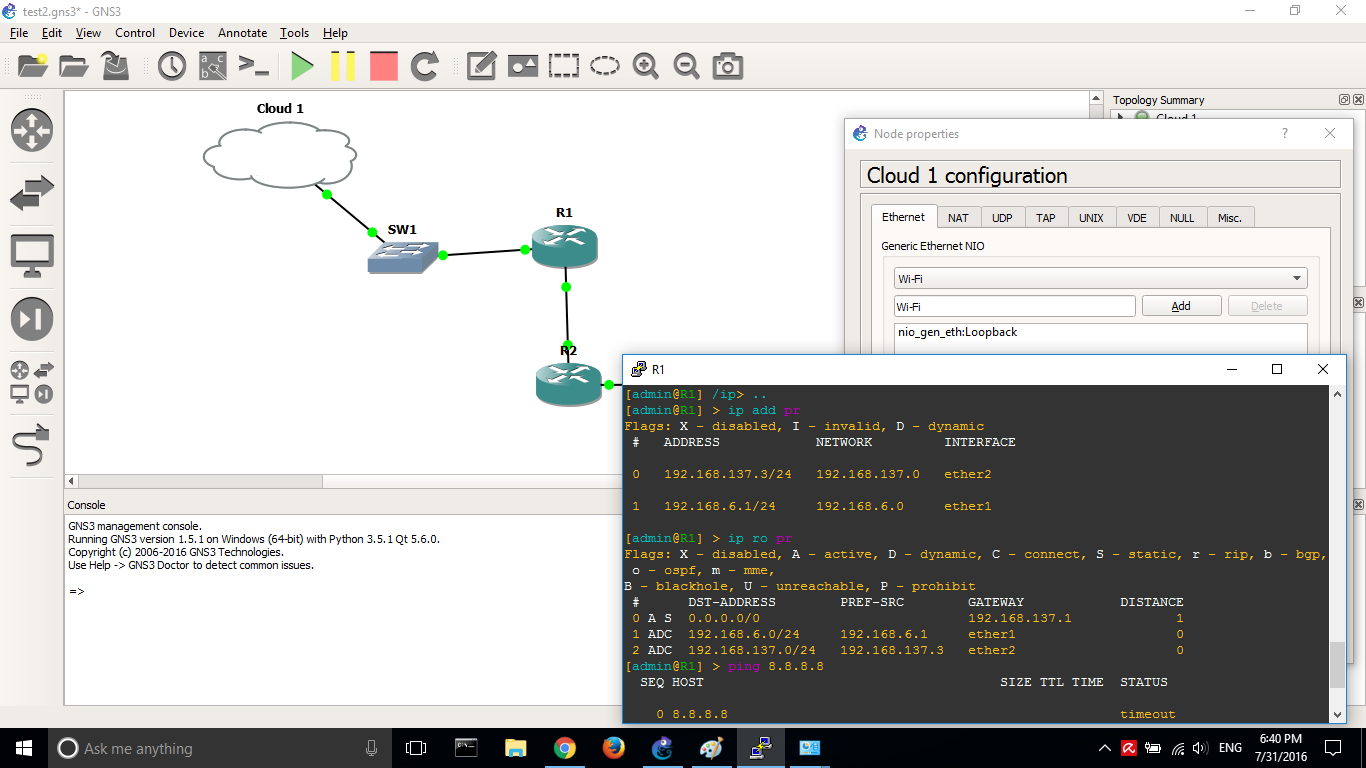
Actually i did i’ve installed, all good. Know could not ping to google.com, but i will try again, i’m writing 192.168.137.x but still have a ping, also i’ve seen that the ping is going to lost.
yes, i’m doing same, first of all after installing GNS3 i did:
command: ‘hdwwiz.exe’ (as Administrator) - Add Hardware Wizard will open.
Install the hardware that I manually select from a list (Advanced) → Network Adapters → Microsoft → Microsoft Loopback adapter. If there is no such choice Microsoft KM-TEST Loopback Adapter should be chosen and also:
Open ‘Control Panel → Network and Sharing center → Change adapter settings’. There will be a new network adapter and it should have a name ‘Ethernet 2’ (or some other number if there are more ethernet devices on the computer). For the sake of recognizability, we suggest renaming the interface to ‘Loopback’ or some other apparent name.
Next, enable Internet Connection Sharing, select the network interface which is used to connect your computer to the network (WiFi or wired) and open Properties → Sharing. Enable ‘Allow other network users to connect through this computer’s Internet connection’ and select ‘Loopback’ as Home Network Connection