All the information is at the link Holvoetn provided, and yet you elected to go elsewhere, cant help with trying to muck about some other reference LOL
The path forward is clear for the LTE
WIREGUARD INTERFACE,
name= wireguard1
private key
public key - which you need to give to mulvad
WIREGUARD PEER
endpoint address and port - supplied by mullvad
allowed IPs: 0.0.0.0/0 ( desination addresses you wish to send (all internet) over tunnel )
keep-alive set to 35 seconds or so
public key - provided to you by mullvad
IP ADDRESS, assuming mulvad supplied you with some sort of IP for your side…??? lets say it was 10.10.10.2
/ip address
add address=10.10.10.2/24 interface=wireguard1
Firewall rules.
You need to ensure your subnet is allowed to enter the tunnel.
add chain=forward action=accept in-interface-list=LAN out-interface=wireguard1
If you only have one subnet (lets say 192.168.20.0/24) it can be in-interface=name of subnet or simply src-address=192.168.20.0/24
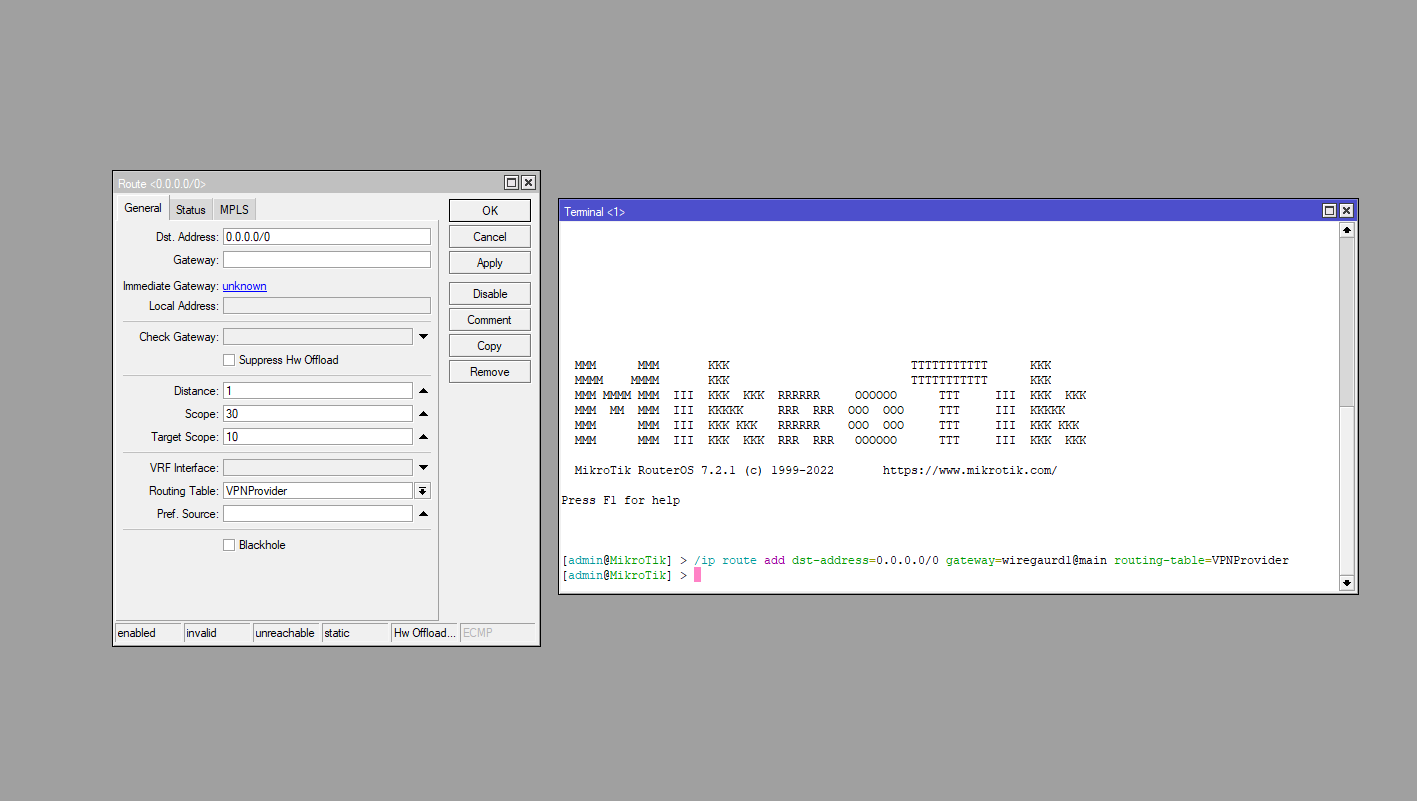
IP ROUTE - this is the tricky part.
You should have the default route already in place, either automatically because in IP DHCP Client you have YES selected for use ISP as default route, OR you should have created one manually.
add dst-address=0.0.0.0/0 gwy=ISP gateway table=main.
THREE STEPS
Add table
/routing table add name=useWG fib
Add routing rule
/routing rule add src-address=192.168.20.0/24 action=lookup table=useWG
Add additional route
dst-address=0.0.0.0/0 gwy=wireguard1 table=useWG
Note: lookup means use the table indicated for traffic but if the table is not available, look for another routing (which means check table=main to see if any alive routes exist and use that one).
If you had selected lookup-only-in-table, then the router would not look elsewhwere if the wg tunnel was not available and traffic would be dropped.
++++++++++++++++++++++++++++++++++++++++++++++++++++++++++++++++++
make the necessary changes and then post your config here
/export file=anynameyouwish